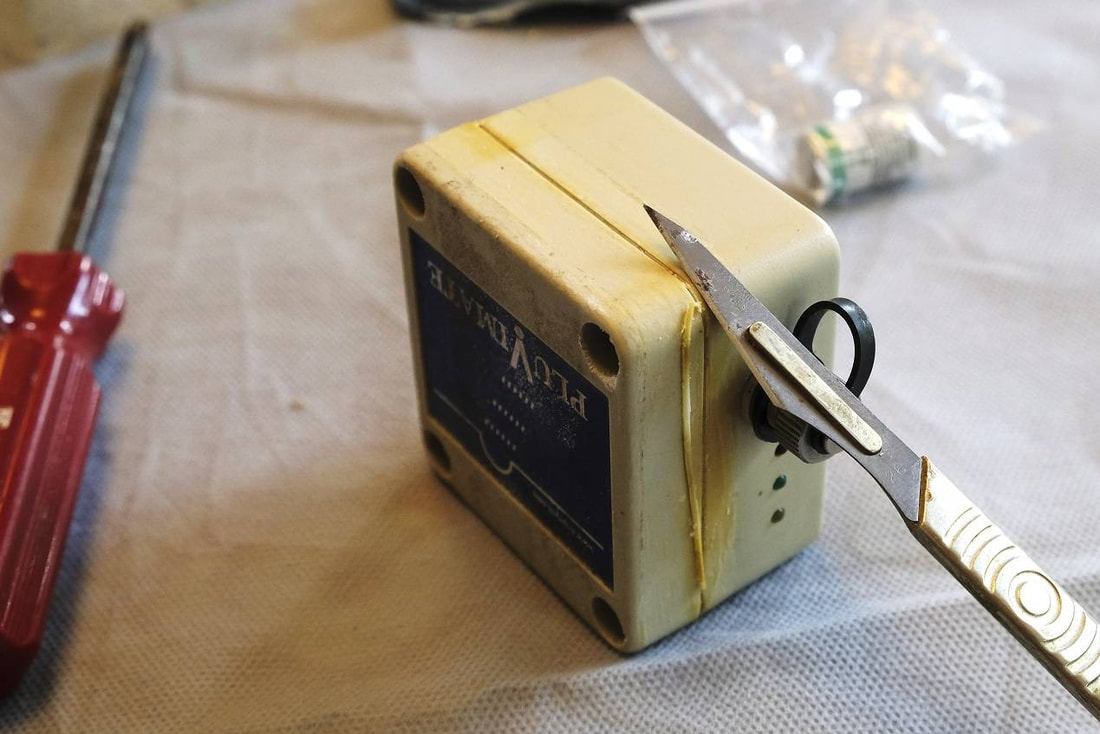
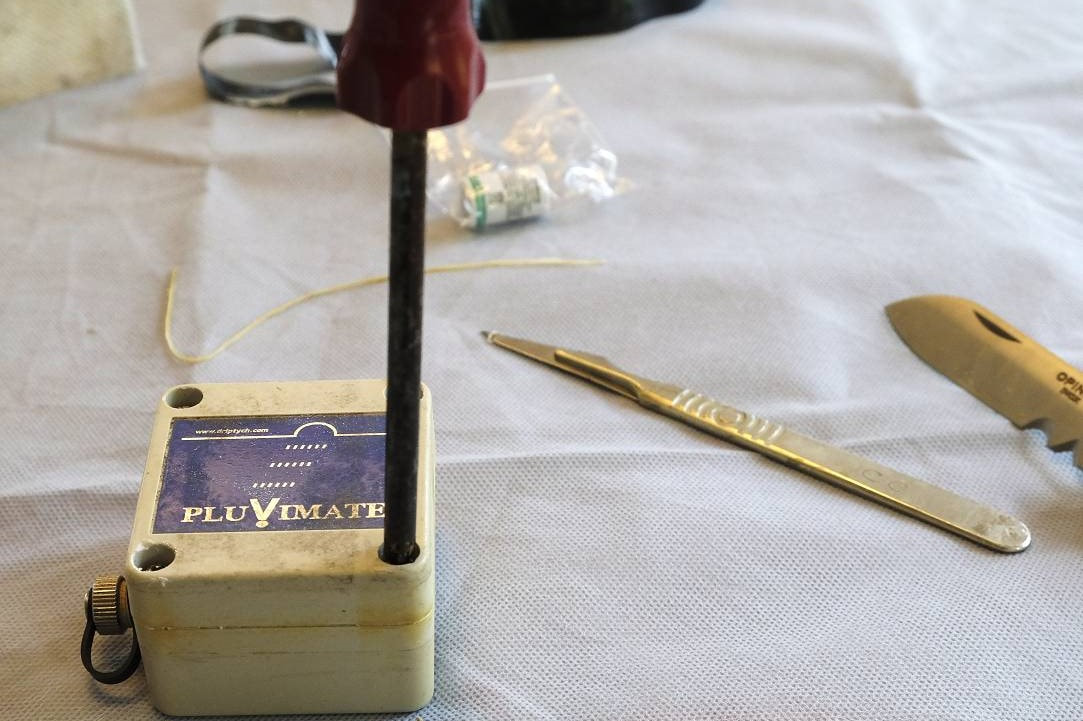
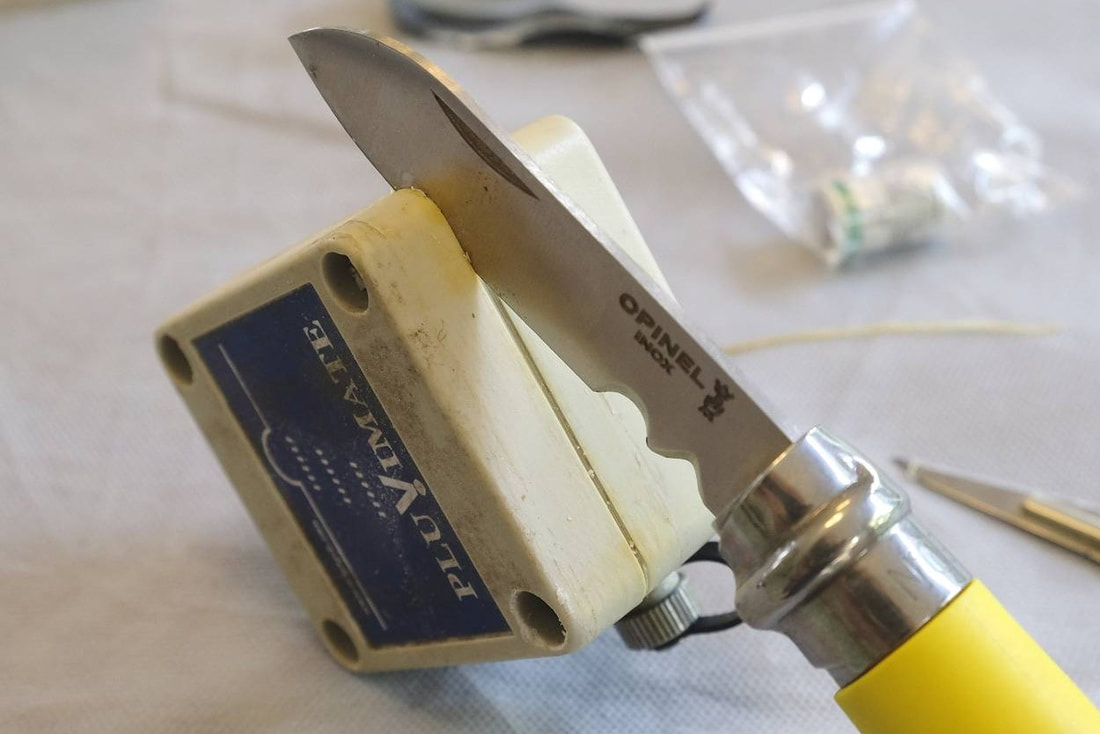
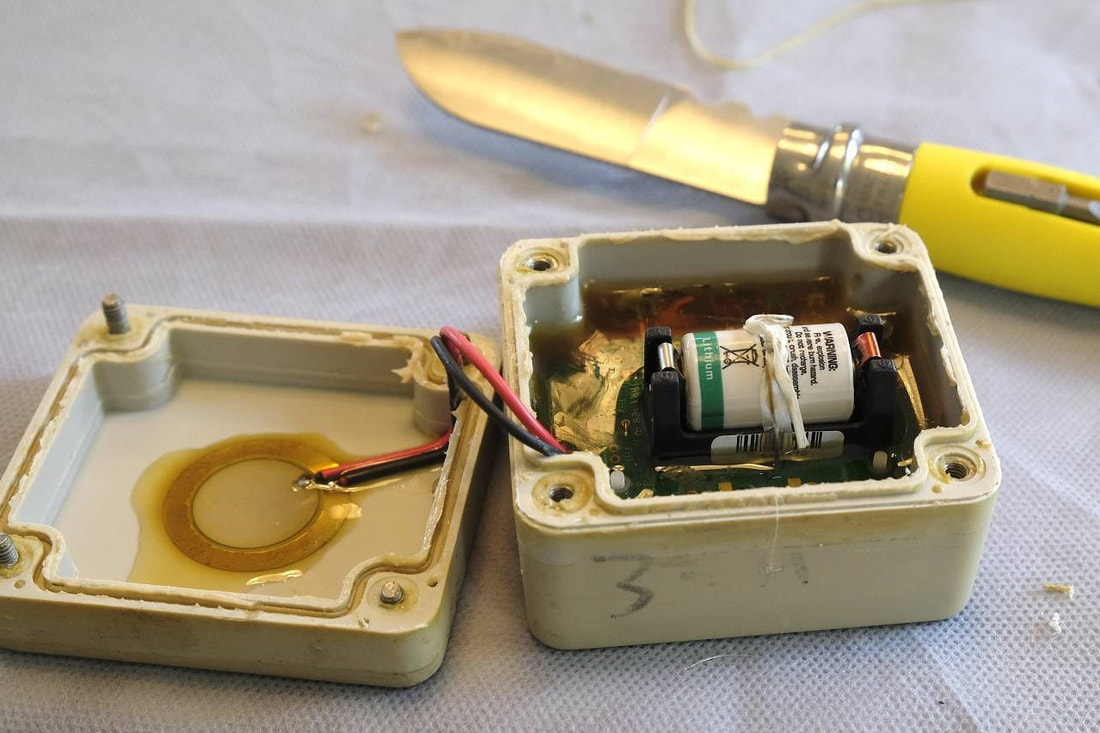
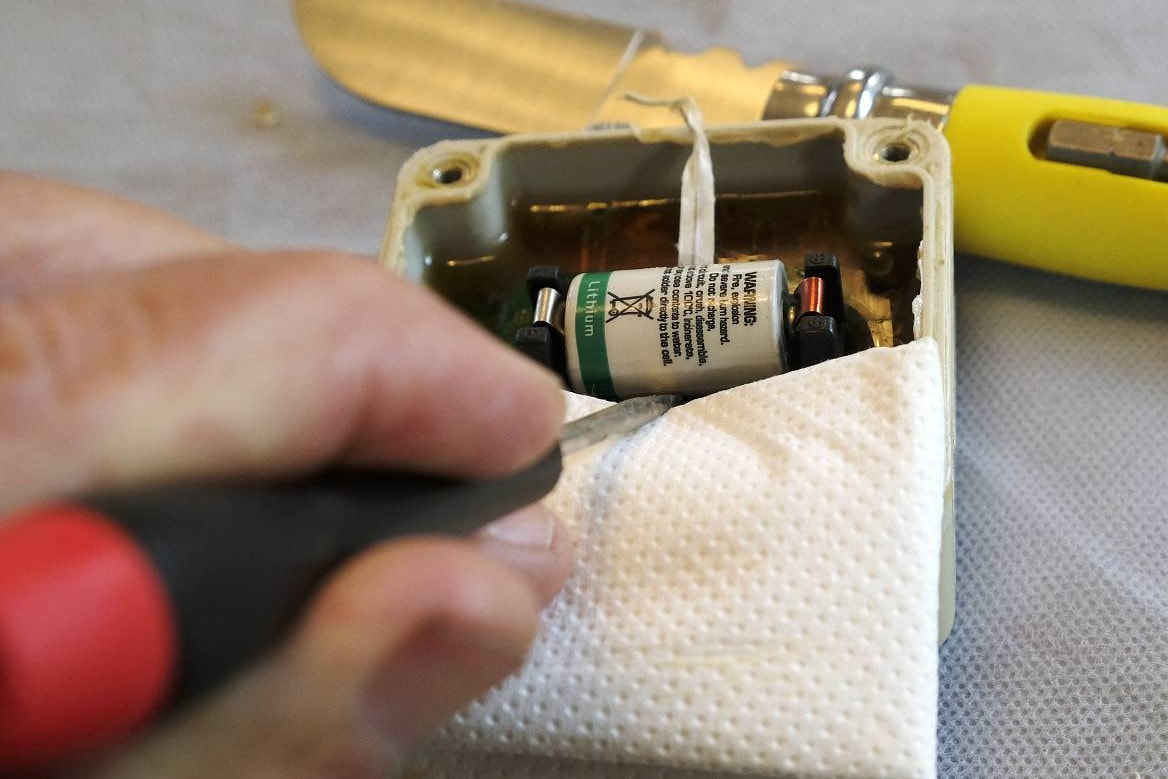
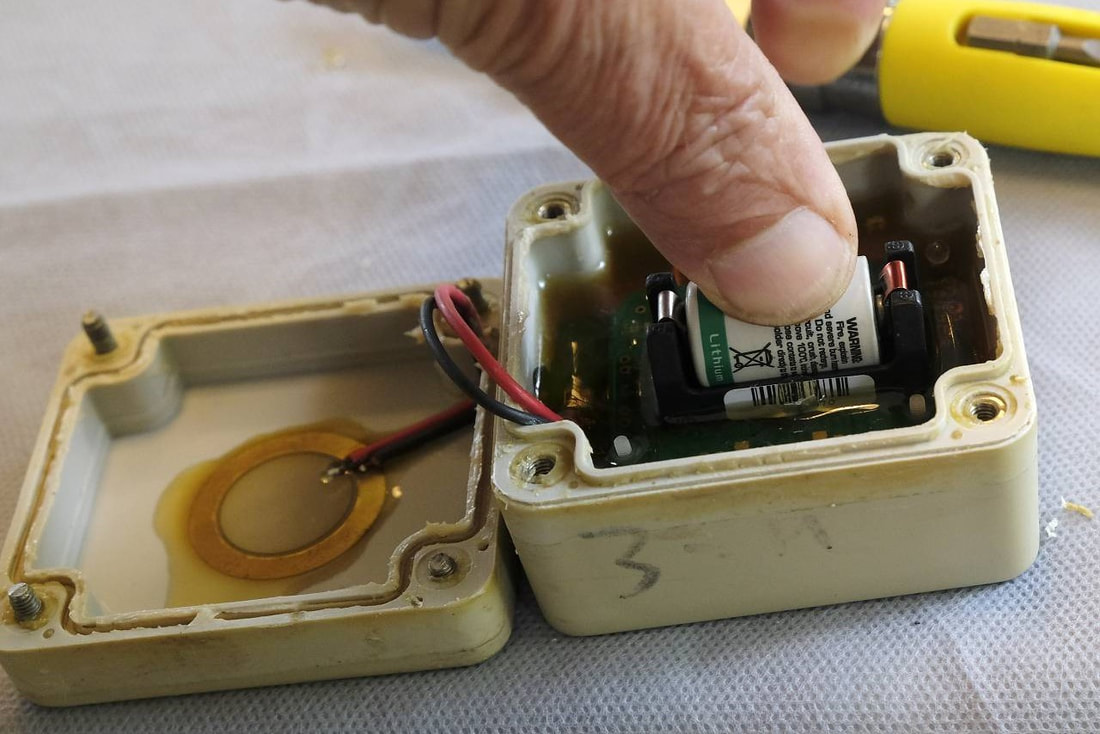
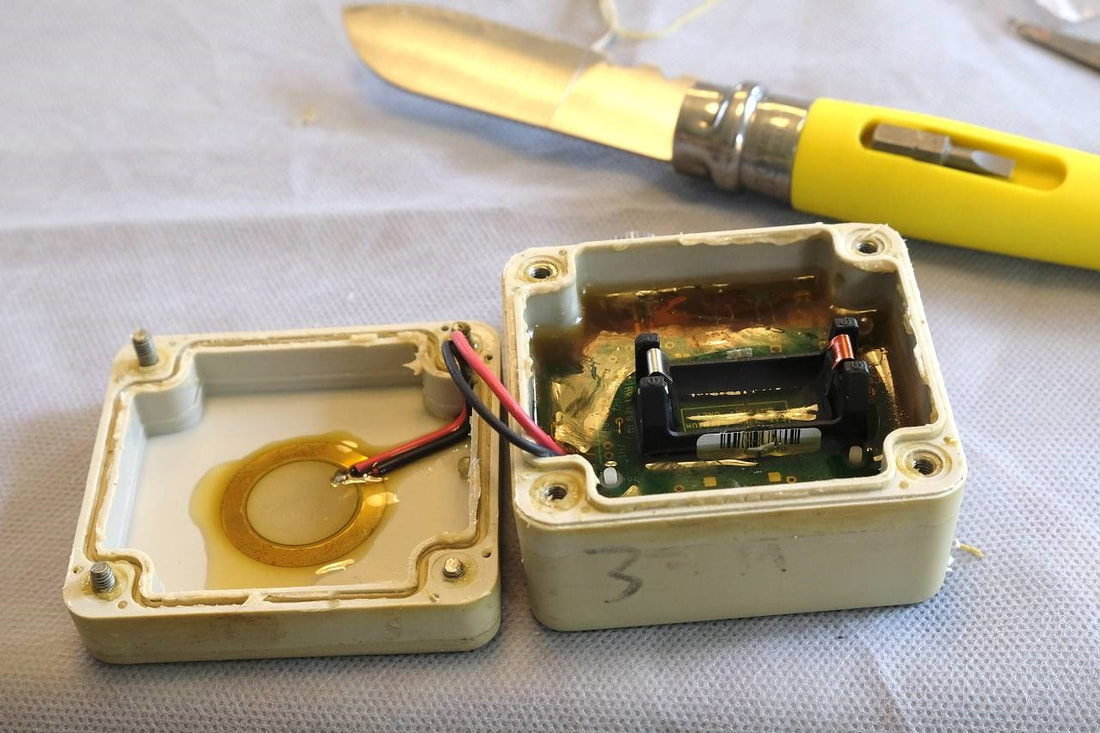
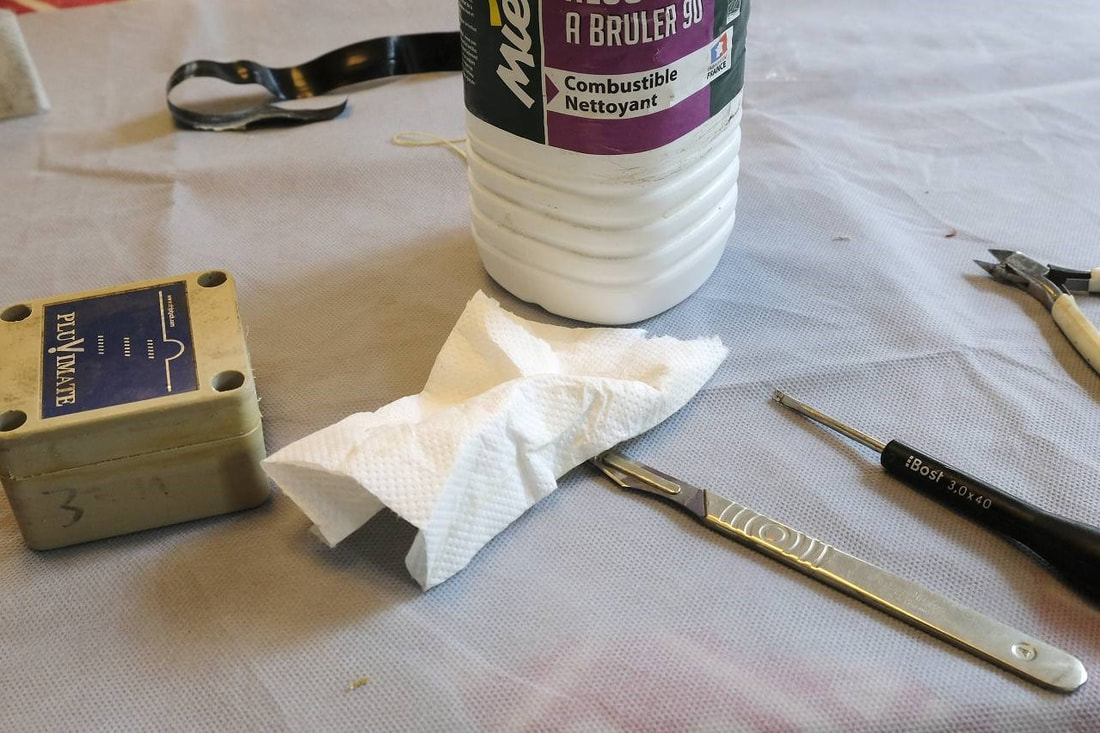
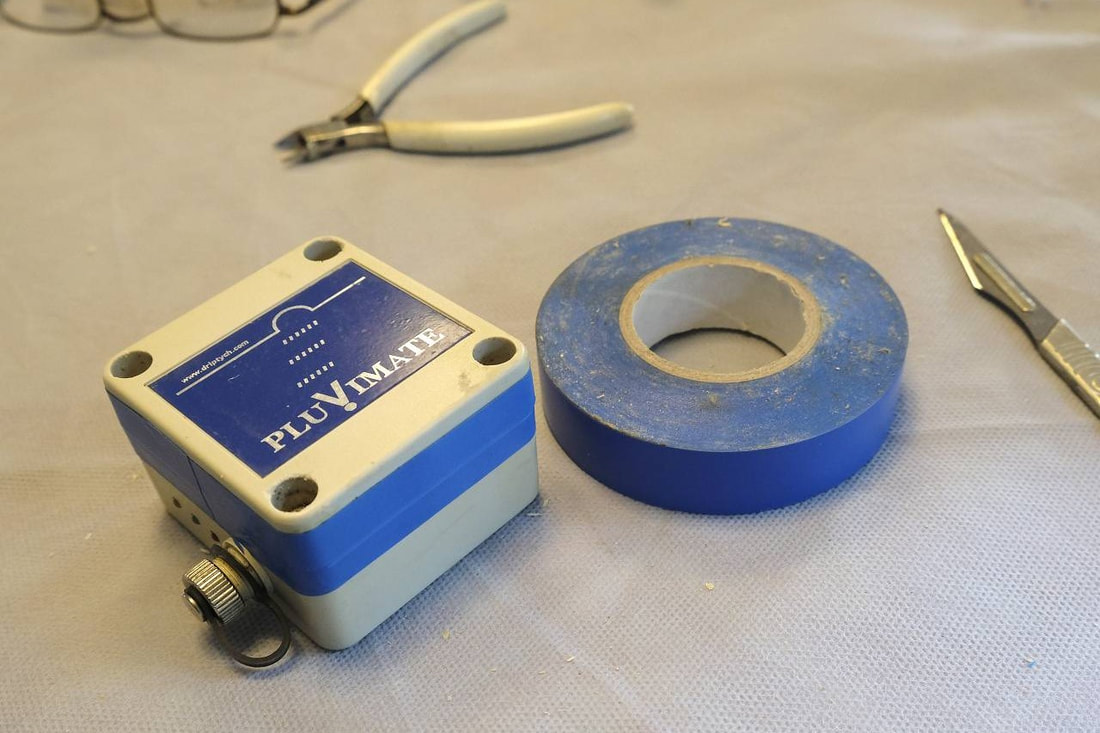
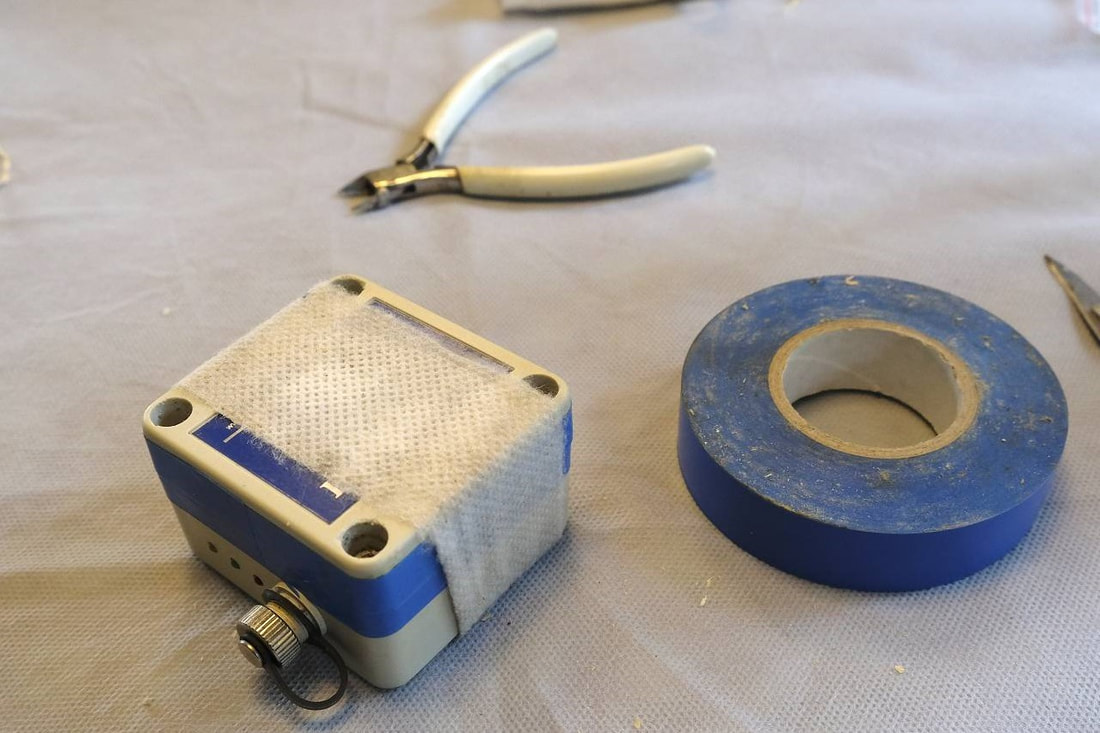
Changing the battery requires some care: Only lever up the lid at the corners, where there is plenty of "meat" on the box. Use a solid sharp knife (TAKE CARE!) and don't be impatient! With the lid removed, you may find that the battery has been secured with wire as an extra safeguard. This can be cut and removed. Prise the battery out using a small flat-bladed screwdriver applied to the centre of the battery. CAUTION: if you are using the edge of the box as a fulcrum, take care to pad it with a small piece of fabric, card or plastic; any dent or impression in the lid will cause subsequent water leaks. There may be some resistance around the battery from the soft polyurethane potting polymer, so a little persistence may be required. Note the polarity before you remove it, though the holder is marked with a “+”. With the old battery removed, replace the battery with a single, confident motion. Failure to do this may result in a burst of electrical noise which may, occasionally, "freeze" the internal software, causing a "brownout". Correct insertion can be verified by a brief flash of red and green leds together. If any led is flashing continuously, repeat the process.
Generously smear silicone grease over the terminals after insertion of the battery. Make sure the rubber seal and the lip of the lid are undamaged, and apply silicone grease or some other non-setting mastic to them. Silicone rubber is very effective, but may make it difficult to remove the lid later. If the thin plastic sealing lips of the box have been damaged, you will need to smooth them uniformly using fine (1000 grit) abrasive paper on a flat, even surface. Replace the lid, taking care not to trap the wires! Screw up the 4 screws EVENLY and gradually to ensure uniform compression of the seal.
Generously smear silicone grease over the terminals after insertion of the battery. Make sure the rubber seal and the lip of the lid are undamaged, and apply silicone grease or some other non-setting mastic to them. Silicone rubber is very effective, but may make it difficult to remove the lid later. If the thin plastic sealing lips of the box have been damaged, you will need to smooth them uniformly using fine (1000 grit) abrasive paper on a flat, even surface. Replace the lid, taking care not to trap the wires! Screw up the 4 screws EVENLY and gradually to ensure uniform compression of the seal.
Check that everything is working correctly by connecting to your computer and running the Gemini Explorer software. On some versions of this software, you may get a message saying "Battery Low" or similar. This is a minor bug, so ignore it and "Launch". Tap the lid to check that the red led flashes. Then click on "Stop" to stop the logger unless you intend to use it immediately.
